Teescape Fulfillment App – Quick Start Guide
Follow the six easy steps below and you’ll be ready in no time.
Step 1 – Go To The Account Settings Page

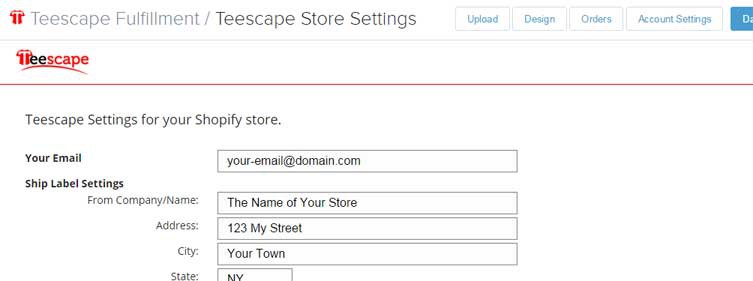
Step 2 – Verify Your Email Address
PLEASE PLEASE PLEASE make sure that this is correct and is a good address where you can be reached.
If there’s ever a problem with you store, or with an order, we need to be able to contact you to prevent your orders from being delayed!
We won’t share this address with anyone, but we will use it to contact you with important information, including things like when certain styles or colors of garments are on back order, or in the case of price changes.
Step 3 – Provide Ship Label Settings
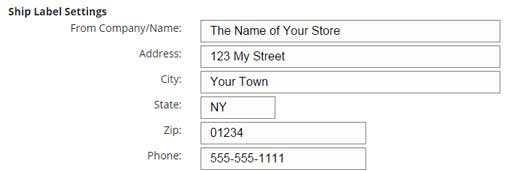
If you don’t provide the Ship Label Settings, or if you provide an invalid address, we will automatically use the generic return address of our print shop, with a name like “FulFillment Center”. But you don’t want your customers to see that!
Step 4 – Select Auto Order Processing
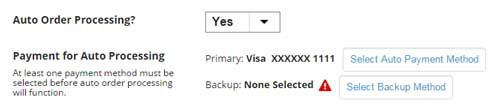
In addition – even if Auto Order Processing is set to “Yes”, you must also provide at least one payment method before any orders can be processed by Teescape.
Next to Payment for Auto Processing, click the Select Auto Payment Method button to provide your credit or debit card, which will be used to pay for your orders that are fulfilled by Teescape. In the window that pops up, click Add New Debit or Credit Card at the top to enter your information. Once submitted, then you can select that method, and click the Click to Use Selected button at the top.
In the same way, you can also provide a Backup payment method. This is not required, but in the event that your primary method fails for some reason or becomes expired, our system will switch to using your backup method, and this will help prevent delays in fulfilling your orders.
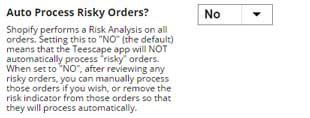
Step 5 – Risky Orders Option
Step 6 – VERY IMPORTANT – Don’t Forget to Save

You’re Done! …
Click Here for How-To information on uploading your artwork and Adding Products to Your Store.